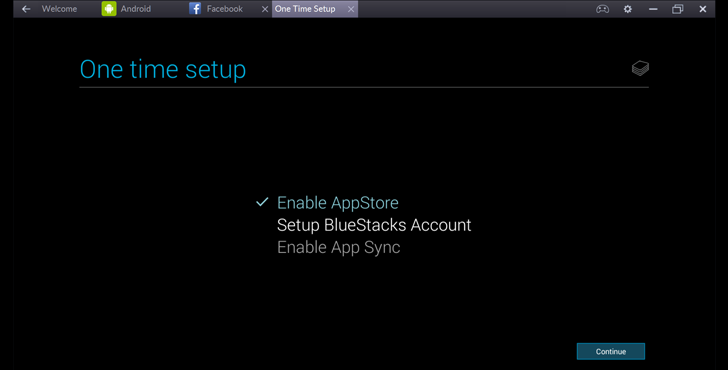
Bluestacks previously only run a single app at a time. However, with the launch of BlueStacks 2, the app adds a tabbed interface that allows you to jump between multiple Android apps in the same window.

How to Run Multiple Android apps Using BlueStacks 2
Follow these simple steps to go:
Step 1: To use and run multiple Android apps simultaneously, you need to first Download BlueStacks 2, which is free.
Step 2: Install BlueStacks 2 software on your Windows computer.
Step 3: Once installed, you will land on the Welcome Tab. Just Move to ‘Android’ tab.

Step 4: Software will ask you for One-time Google Account Setup, just like an Android device ask for.
Step 5: Login with your Google account to complete the Setup and you are ready!
Step 6: From ‘Android’ tab select multiple apps you want to run in parallel. BlueStacks 2 will open each app in a new Tab within the software interface.


